When applying for a U.S. visa, there are countless steps to complete, forms to fill out, and details to ensure are correct. One essential part of the process is submitting a visa photo that meets the U.S. Department of State’s exact specifications. However, ensuring your photo is correct can feel like a daunting task. Luckily, there’s a solution—using a US visa photo tool to streamline this step and make sure you get it right the first time. In this article, we’ll explore how you can simplify your U.S. visa application process with the help of an online photo tool. We’ll guide you through the importance of proper visa photos, how these tools work, and the benefits they bring to the table. So, let’s dive in and make your visa application process a breeze!
Why Are Visa Photos So Important?
Visa photos are more than just a requirement—they are a crucial part of verifying your identity and ensuring the safety and security of your entry into the United States. The U.S. Department of State takes visa photos very seriously, and they have set strict guidelines that must be followed to ensure that the photo is suitable for identification and security purposes. This photo is used on your visa, which you’ll carry with you when you enter the country. It serves as a key way for authorities to confirm that you are indeed the person on the visa.
One of the most critical aspects of the visa photo is its size. The U.S. visa photo must be exactly 2×2 inches in size. This is a standard measurement required by the Department of State to ensure uniformity across all applications. If the photo is too large or too small, it will be rejected, causing delays and possibly affecting the outcome of your visa application.
The background of the photo is another important factor to consider. The U.S. government mandates that the background must be plain white or off-white. Any colored or patterned background will not be accepted, as it could cause complications in the identification process. A clean, neutral background helps to keep the focus on your face and prevents distractions that could interfere with the security screening.
Additionally, your face visibility is key to the acceptance of your visa photo. The photo must be clear, with no shadows obscuring your face. Glasses and headgear should also be avoided unless they are worn for religious purposes. The U.S. visa application requires that your face be fully visible, with a neutral expression and both eyes open. A smile, frown, or any other expression can distort your facial features, leading to complications during the identification process. Failing to follow these simple but essential guidelines can result in unnecessary delays, ultimately affecting your visa approval.
The Role of a US Visa Photo Tool
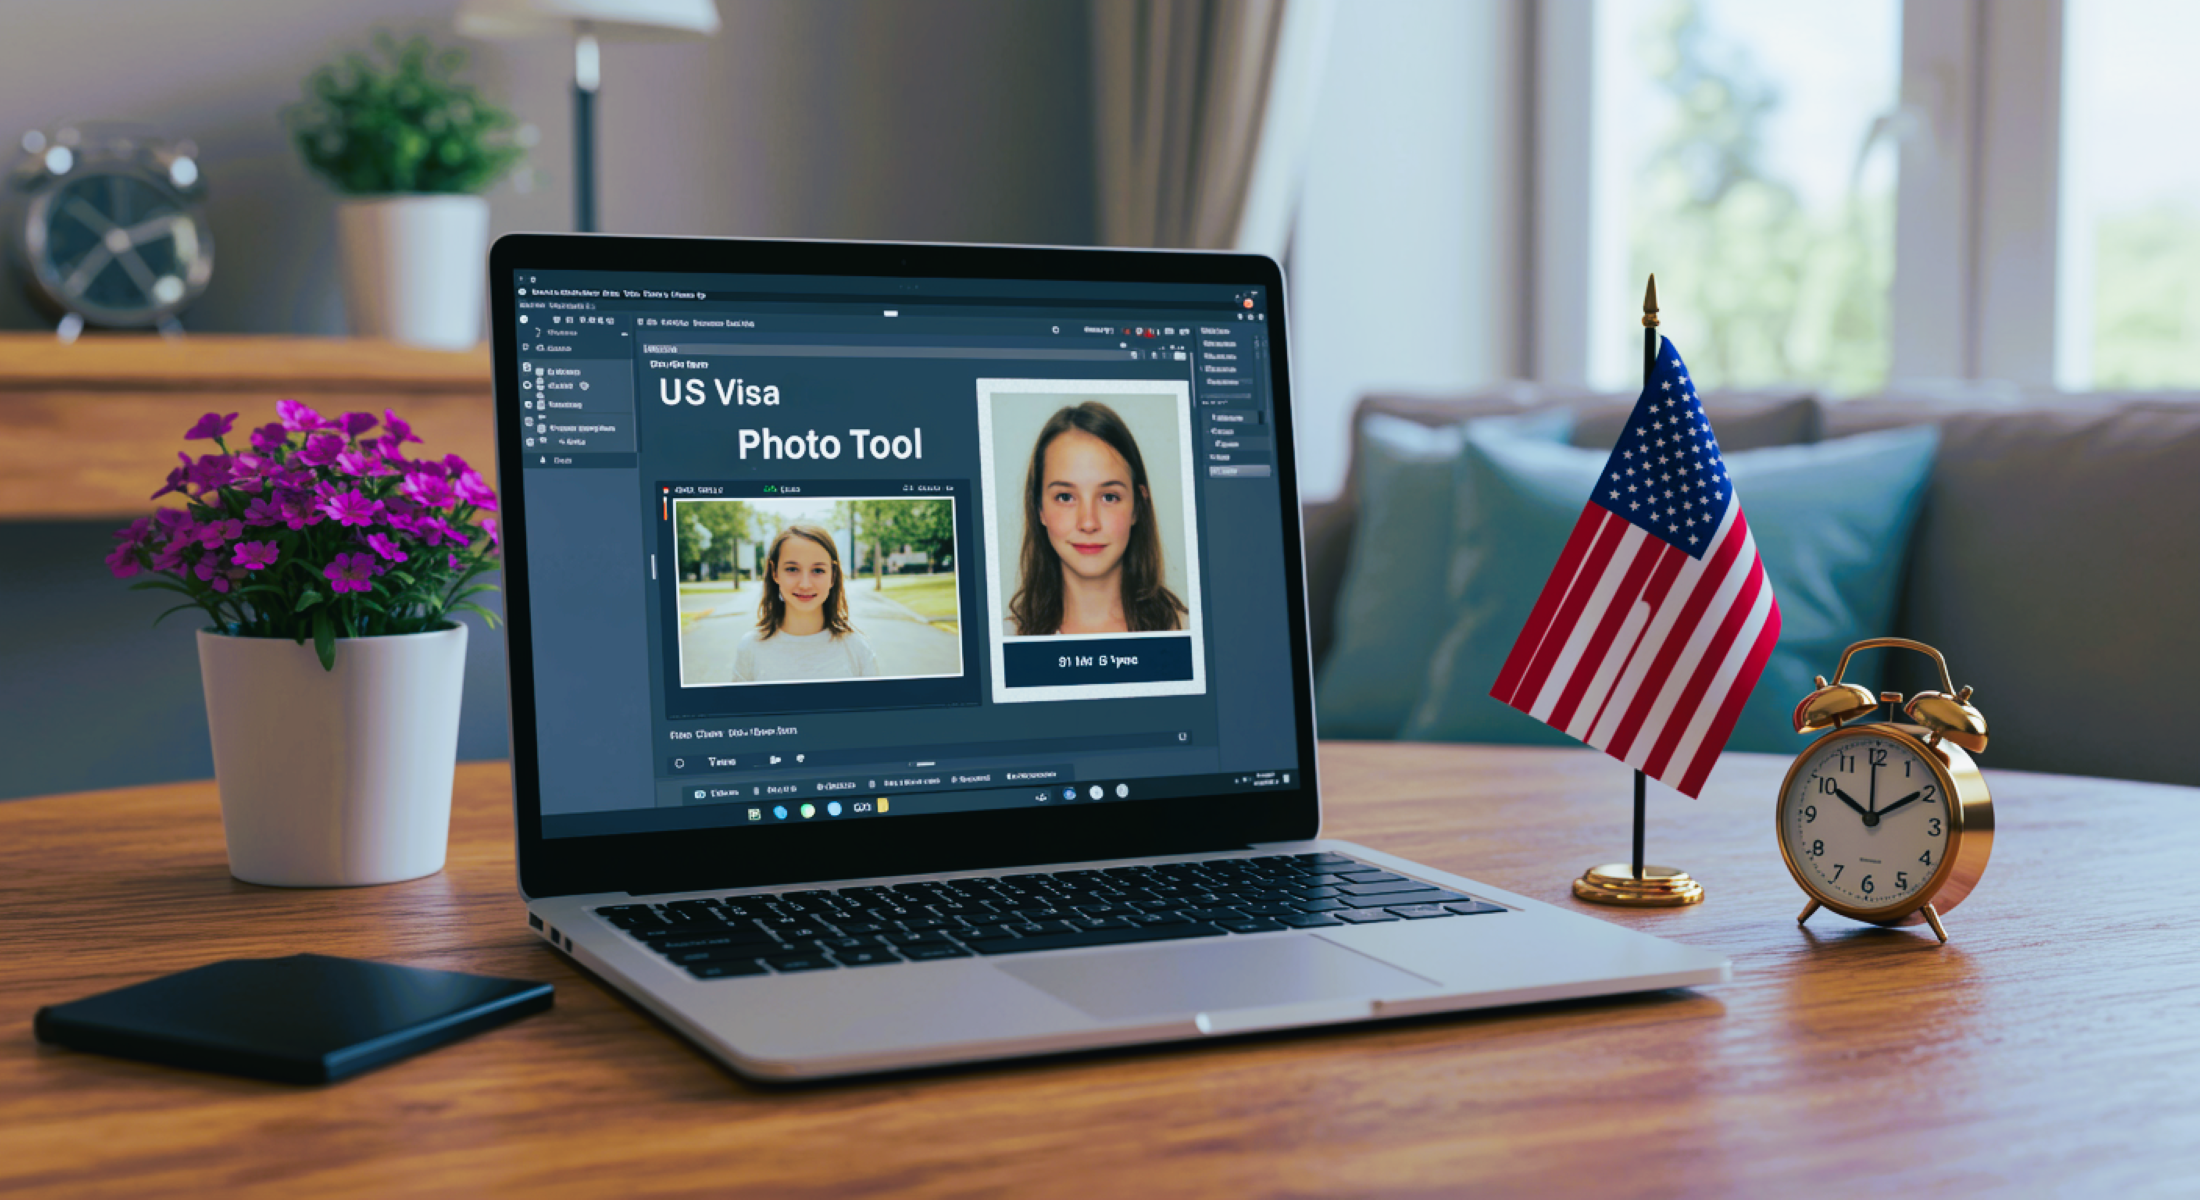
A US visa photo tool is specifically designed to assist applicants in meeting the exact requirements for their visa photos. Whether you are applying for a tourist visa, student visa, or a green card, these tools ensure that your photo complies with all the U.S. government’s specifications. The tool takes the guesswork out of the process, reducing the risk of submitting a photo that does not meet the necessary standards.
- Upload Your Photo
The first step is to upload your photo directly from your device. The tool will accept a variety of image file types, making it easy to work with photos taken on your phone or camera. - Automatic Adjustments
Once the photo is uploaded, the tool will automatically crop and adjust the size of the image to meet the U.S. visa photo requirement of 2×2 inches. This eliminates the need for you to manually adjust the size, ensuring it’s correct every time. - Background Editing
Many visa photo tools offer background removal or editing features. If your photo’s background isn’t a plain white or off-white, the tool will adjust it to meet the required standards. This step ensures that your photo follows all U.S. government guidelines regarding background color. - Facial Alignment
The tool checks that your face is properly aligned in the frame. It will adjust the positioning of your head and eyes if necessary to ensure that both are visible and centered according to the specifications. This is crucial to avoid rejection due to improper face visibility. - Download & Print
After all adjustments are made, and the photo is fully compliant with the U.S. visa requirements, the tool allows you to download the image and print it. Some tools even offer the option to print directly from the platform, saving you extra steps.
Top Features of a US Visa Photo Tool
| Feature | Description | Benefits | Example Tools | Impact on Visa Application |
| Automated Compliance Checking | The tool automatically checks your photo for compliance with U.S. visa photo regulations. It analyzes size, background, facial features, and alignment. | Ensures that your photo meets all official U.S. specifications, avoiding rejection or delays in processing. | Online visa photo editors | Prevents photo rejection, ensuring faster approval. |
| Ease of Use | These tools are designed with intuitive interfaces that are easy to navigate. Users can upload and adjust their photos with a few clicks, even if they aren’t tech-savvy. | Anyone can use them, from beginners to those unfamiliar with technical editing tools. | Passport Photo Online, IDPhoto4You | Simplifies the photo editing process. |
| Cost-Effective | Many online tools offer free or low-cost services, with minimal fees for high-resolution downloads. This makes them an affordable alternative to professional photographers. | Saves money compared to expensive photo services at professional studios or photography centers. | VisaPhoto, 123PassportPhoto | Reduces costs while ensuring compliance. |
| Instant Results | The tool delivers results quickly, typically in just a few minutes, unlike waiting for a professional photographer or a photo center to process your image. | Great for applicants on tight timelines, as it reduces waiting time for photo corrections. | iVisa, EvisaPhoto | Speeds up the overall visa application process. |
| Convenient Accessibility | Many tools are available online and can be accessed from anywhere, making it convenient for users across the world to get a compliant U.S. visa photo. | Offers flexibility in terms of location, allowing you to prepare your photo at home or on the go. | Passport Photo Maker, ePassportPhoto | Convenience and flexibility in submitting a photo. |
How to Choose the Right US Visa Photo Tool
First and foremost, you should look for a tool that guarantees accuracy and compliance with the official U.S. Department of State requirements. This is crucial because an incorrect photo can lead to delays or even a rejection of your visa application. The right tool will ensure that your photo meets the size, background, and facial visibility requirements. Some tools even provide a certification or confirmation that your photo meets all the necessary criteria, giving you added confidence that you’ve gotten it right.
Next, user reviews can give you insight into how well the tool works. Checking reviews from other users who have successfully used the tool can be a great way to gauge its reliability. Positive feedback from other applicants is often a good indication that the tool will deliver accurate, compliant results. It’s always helpful to see what other users have experienced before trusting a particular tool.
Another factor to consider is the cost vs. value. While some tools are free to use, others may charge a small fee for premium features such as high-resolution downloads or multiple photo edits. It’s important to compare the features offered by different tools and evaluate which one provides the best value for your needs. A small fee for additional services might be worth it if it saves you time and ensures a higher-quality photo.
Finally, ensure that the tool allows you to download your photo in the correct downloadable format. High-quality files are essential because submitting a low-resolution or improperly formatted image can lead to rejection. Additionally, it’s important to check if the tool offers customer support in case you run into issues. Whether it’s chat support, email assistance, or tutorials, having access to help can make the process smoother, especially if you’re unsure about any part of the tool or your photo.
The Benefits of Using a US Visa Photo Tool
Here are some of the key benefits of using a US visa photo tool for your visa application:
- Time-Saving: You can edit and adjust your visa photo in just a few minutes, instead of waiting days for a professional photographer or photo center to process it. This is especially helpful when you’re working on an urgent application.
- Avoid Mistakes: Using a tool designed to meet the U.S. Department of State’s specifications ensures your photo is free from common mistakes, such as improper sizing, background issues, or poor alignment. This minimizes the risk of delays or rejections.
- Convenience: The tool is accessible from anywhere, whether you’re on your phone or computer. You don’t need to leave your home or wait for an appointment to get your photo right.
- Peace of Mind: Knowing that your visa photo is compliant with all the necessary requirements can provide peace of mind, helping to reduce stress during the application process. You can submit your photo with confidence, knowing it meets all standards.
Alternatives to US Visa Photo Tools
| Option | Description | Pros | Cons | Cost |
| Professional Visa Photo Services | Professional photographers take your photo in-person, ensuring it meets all U.S. specifications. | High level of accuracy and reassurance. You don’t have to worry about mistakes. | Higher cost and may require an appointment. | Higher price, varies |
| DIY Solutions | Take your own photo at home using a digital camera or smartphone. | Low cost and no need to leave home. | Requires attention to detail and may result in mistakes. More time-consuming. | Free (or minimal cost) |
How to Ensure Your US Visa Photo is Accepted
When applying for a U.S. visa, ensuring that your photo meets the official requirements is one of the most crucial steps in the process. The U.S. Department of State has set strict guidelines to maintain consistency and security, and any deviations from these standards could lead to delays or a rejected application. A proper visa photo is more than just a snapshot; it’s an important part of your identity verification for your entry into the United States.
One of the most important aspects of a compliant visa photo is size. The photo must be exactly 2×2 inches, and any discrepancies in size can cause problems. If the photo is too large or too small, the application may be returned for corrections. Ensuring your photo is the correct size is one of the most basic but important steps.
Another crucial element is the background. The background of your photo must be plain white or off-white. Any other colors, textures, or patterns can result in your photo being rejected. A cluttered background can obscure facial features, making it difficult to properly identify the applicant. Many online visa photo tools can automatically remove or adjust the background to comply with these strict guidelines, saving you time and effort.
Facial visibility is another area where applicants often make mistakes. Your face must be fully visible with no shadows, glasses, or headgear (except for religious purposes). This may sound simple, but slight shadows from your hair or uneven lighting can cause problems. For this reason, using a photo tool that checks alignment and visibility can help ensure your photo meets the necessary standards. By following these steps and using the right tools, you can ensure that your visa photo meets all the necessary criteria for approval.
Key Steps for Taking a Perfect US Visa Photo
When applying for a U.S. visa, your photo plays a vital role in your application process. It may seem like a simple task, but meeting the strict photo requirements can often be tricky. To avoid delays and ensure your photo is accepted, here are the essential steps you should follow:
- Ensure Correct Size: The U.S. visa photo must be 2×2 inches in size. Any variation in this dimension can result in rejection. Make sure you measure it accurately before submitting.
- Choose the Right Background: The background should be plain white or off-white, without any patterns or textures. A busy or colored background can obscure facial features and cause issues.
- Face Visibility: Your face must be clearly visible with no shadows, glasses, or headgear unless for religious or medical reasons. Ensure proper lighting so that your face is evenly lit, and avoid wearing any accessories that could obstruct your features.
- Maintain a Neutral Expression: You should have a neutral facial expression with both eyes open and your mouth closed. Smiling or frowning is not allowed, as the goal is to create a clear, natural image of your face.