When you’re applying for a visa, whether it’s for travel, business, or study, one of the most crucial components of the application is your visa photo. A rejected visa photo can delay your entire process and cause unnecessary stress. But don’t worry! If your visa photo was rejected, there are ways to fix it and get it approved. In this article, we’ll walk you through the common reasons for rejection and provide actionable steps to ensure your photo meets all the necessary requirements. Let’s get started!
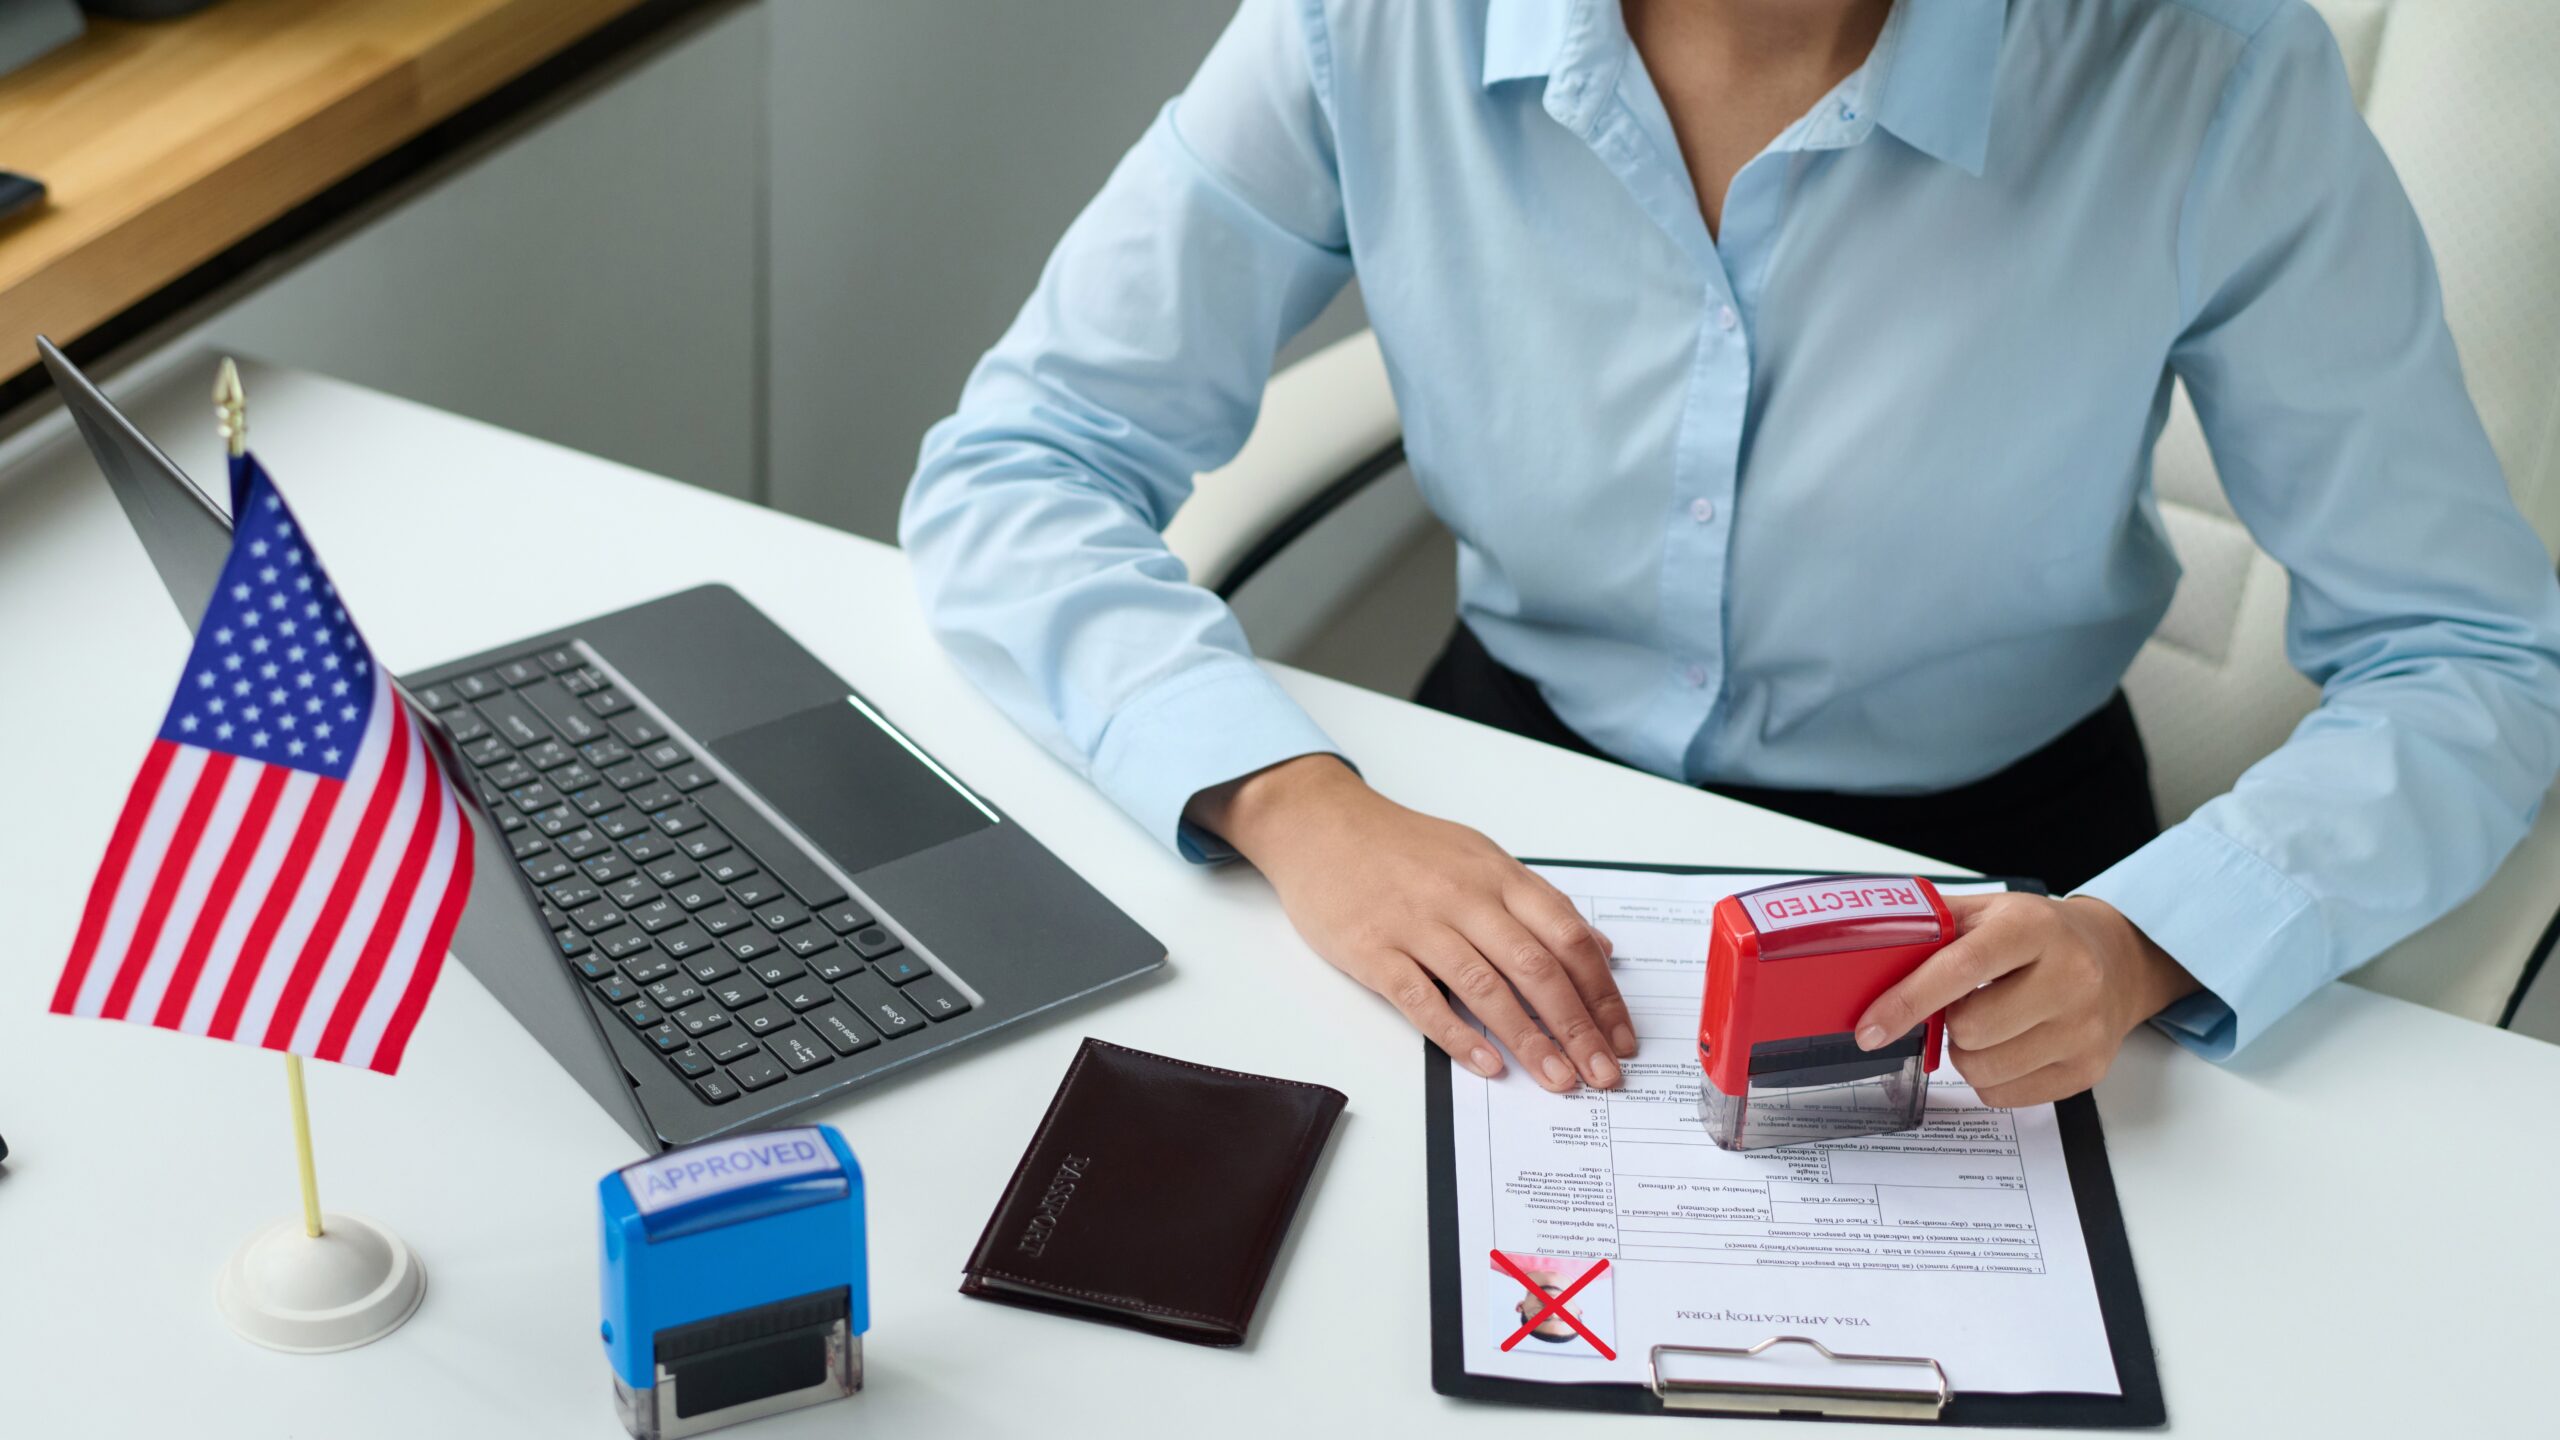
Why Your Visa Photo Was Rejected
Understanding why your visa photo was rejected is the first step toward fixing it. There are several common reasons for rejection, each with specific guidelines. For instance, one of the most frequent issues is the photo’s size or dimensions. Visa photos typically need to adhere to a strict size requirement. If your photo doesn’t match the required dimensions, it will be rejected. For example, U.S. visa photos should be 2×2 inches (51×51 mm), but different countries may have their own measurements. Failing to meet these specific size requirements could be a simple but easily overlooked reason for rejection.
Another common issue is poor photo quality. If your photo is blurry, pixelated, or distorted in any way, it will most likely be rejected. A high-quality, sharp image is essential for identification purposes. A blurry photo can make it difficult for officials to clearly identify your facial features, causing them to dismiss it. The same applies to photos that have visible distortions or low resolution. Ensuring that the photo is clear and sharp, with no visible pixelation or noise, will help prevent this issue.
In addition to quality, the background of your visa photo plays a major role in the approval process. A common mistake is using a background that’s not plain or light-colored. Most visa photo guidelines specify that the background should be a solid white or light color. Backgrounds with shadows, objects, or patterns can cause confusion and may result in a rejection. A cluttered or dark background can distract from the focus on your face, making it harder for officials to verify your identity.
Lastly, facial expression and head position are crucial in ensuring a visa photo meets the standards. Visa photo guidelines typically require a neutral facial expression. A smile, raised eyebrows, or exaggerated facial expressions can lead to a rejection. Similarly, improper head positioning or poor framing of the photo can cause issues. Your head should be centered in the image, and you should be looking directly into the camera. Tilting your head or cropping the photo poorly can easily result in a rejection, as these misalignments can make it difficult for officials to accurately assess the photo.
How to Fix a Rejected Visa Photo
| Step | Description | Quick Tips | Tools/Software | Additional Notes |
| Check the Photo’s Dimensions | Ensure your photo fits the required size specified for your visa application (e.g., 2×2 inches for U.S. visas). | Use an online tool or photo editing software to adjust the size. Avoid stretching or distorting the image. | Online resizing tools, Photoshop, GIMP | Double-check the required dimensions for the specific visa. |
| Ensure High-Quality Image | Your photo should be clear, sharp, and high-resolution. A blurry or pixelated image will lead to rejection. | Use the highest resolution possible when taking or scanning the photo. | DSLR cameras, high-res phone cameras | Scan old photos at least 300 DPI if using scanned images. |
| Choose a Plain, Light Background | The background should be solid white or light-colored, with no shadows, objects, or patterns that could distract. | Stand against a plain white or light gray wall. Avoid backgrounds with shadows or objects. | Photo editing software (for background removal) | Ensure the background is even and not distracting. |
| Maintain a Neutral Expression | Your facial expression should be neutral—no smiling, frowning, or excessive movement. Keep your mouth closed and eyes visible. | Relax your face, avoid exaggerated expressions. Look directly at the camera. | No specific tool needed for this step | Ensure the expression is calm and natural. |
| Adjust the Lighting | Use even, natural lighting that eliminates harsh shadows or reflections. Your face should be fully visible and well-lit. | Take the photo in a well-lit room during the day. Avoid using a flash that might cause shadows or reflections. | Natural lighting, softbox lighting, diffusers | Proper lighting helps avoid overexposure or underexposure. |
| Align Your Head and Eyes Properly | Your head should be centered in the frame, with eyes positioned around the middle of the photo. Tilt your head and positioning should be correct. | Ensure your head is about 1.25-1.37 inches from chin to top of head. Eyes should be between 1.1-1.3 inches from the bottom of the photo. | No specific tool needed for this step | Keep your head straight and avoid tilting or turning. |
| Avoid Eyewear and Accessories | Glasses and accessories, unless for medical or religious reasons, should not be worn. Glasses should not cause glare or block your eyes. | Remove hats, scarves, jewelry, and glasses (unless for medical purposes). Ensure glasses do not obstruct your eyes or cause glare. | No specific tool needed for this step | Tinted glasses are not allowed in visa photos. |
| Correct Skin Tone and Exposure | Ensure that the lighting and exposure represent your natural skin tone without overexposure or underexposure. | Use natural or diffused lighting to avoid harsh contrasts. Adjust brightness and contrast levels using editing tools if necessary. | Editing software (Photoshop, GIMP) | Avoid extreme lighting that distorts your natural skin tone. |
Where to Get Your Visa Photo Taken
If you’re uncertain about how to take or fix your visa photo, visiting a professional photo studio is a great option. Photographers who specialize in visa and passport photos have the expertise to ensure your photo meets all the necessary requirements for your application. Here’s where you can get your visa photo taken:
- Professional Photo Studios
- Many local and chain photo studios specialize in visa and passport photos.
- These studios are well-equipped with the right lighting, background, and professional camera equipment.
- They are familiar with the visa photo specifications for different countries and can guarantee your photo meets these standards.
- Pharmacy Chains
- Large pharmacy chains like Walgreens, CVS, or Boots offer visa and passport photo services.
- These locations typically have in-house photographers who are experienced in taking official photos for various visa applications.
- They often provide a quick turnaround time, making it convenient for last-minute applications.
- Post Offices
- Many national post offices also provide visa photo services.
- Post office staff are trained to take photos according to the specific guidelines required for visa and passport applications.
- This option can be convenient, especially if you need to send your application through the post.
- Shipping and Copy Centers
- Places like FedEx, UPS, or local copy centers often provide visa and passport photo services.
- They typically offer professional photo services and can process your photo on the spot.
- These centers usually have a fast turnaround, and many offer additional services like printing your application forms.
- Online Photo Services
- If you prefer to take the photo yourself, several online services allow you to upload your photo and adjust it according to the visa photo specifications.
- Websites like ePhoto, iVisaPhoto, and PassportPhotoOnline can help you resize, crop, and ensure the correct background.
- Some services even provide you with the ability to download your photo directly for printing or submission.
- Retail Stores
- Retail stores such as Walmart, Costco, and Sam’s Club also offer visa photo services.
- These stores have in-house photographers or dedicated self-service kiosks to take the necessary photos.
- The price for this service is often affordable, and you can usually pick up your photos in a matter of hours.
Common Mistakes to Avoid When Taking a Visa Photo
When taking your visa photo, it’s important to be aware of several common mistakes that could lead to rejection. One major mistake is using old or outdated photos. If your photo is more than six months old, it may no longer reflect your current appearance, which could result in the rejection of your application. Visa authorities require that your photo accurately represents how you currently look, so it’s essential to take a new, up-to-date photo.
Another mistake to avoid is taking the photo in a dimly lit room. Poor lighting can create shadows and cause your facial features to be unclear, making it difficult for the visa authorities to verify your identity. It’s crucial to ensure that your photo is well-lit, ideally with natural light or soft lighting to avoid harsh shadows. Taking your photo in a well-lit space helps guarantee that your face is clearly visible and properly exposed.
Over-cropping the image is another issue that can lead to rejection. If you crop the photo too much, it may not meet the size or framing requirements set by the visa authorities. When cropping, make sure your head is centered and occupies the correct portion of the image. Ensure that your face is fully visible, and your eyes are placed in the proper position according to the guidelines.
Finally, avoid wearing distracting clothing. Clothes with busy patterns or colors that blend with the background can interfere with the clarity of your photo. Stick to simple, solid colors that contrast with the background, ensuring that you stand out clearly. Additionally, make sure that your clothing doesn’t obstruct your face or head, as this can lead to further complications with your application.
How to Avoid Common Visa Photo Mistakes
| Mistake | Explanation | How to Fix It | Tips for Success | Importance |
| Using Old or Outdated Photos | Photos taken more than six months ago may not reflect your current appearance, leading to rejection. | Take a new photo within the last six months. | Ensure your hairstyle, facial features, and overall appearance are up to date. | Helps ensure that your appearance matches the photo at the time of application. |
| Taking the Photo in Poor Lighting | Dim lighting can create shadows and obscure facial features, making it difficult to clearly identify you. | Choose a well-lit area, preferably with natural light or soft lighting, to illuminate your face evenly. | Avoid backlighting or dark rooms that could create shadows. | Proper lighting is essential for a clear and professional photo. |
| Over-Cropping the Image | Cropping the photo too much can result in incorrect framing, causing the photo to fail to meet size or positioning requirements. | Ensure your head is centered, and the image is cropped according to the specified dimensions without cutting off any part of your face. | Use photo editing software to crop accurately, keeping a margin around your head and shoulders. | Correct cropping ensures the photo meets the specific size and framing guidelines. |
| Wearing Distracting Clothing | Clothing with patterns or colors that blend with the background can interfere with the clarity and visibility of your face. | Wear solid-colored clothes that contrast with the background, avoiding patterns or bright colors that might clash. | Stick to neutral colors like white, black, or blue that are not distracting. | Ensures your face is the focal point of the photo, without distractions. |
| Not Following Specific Country Requirements | Different countries have unique specifications for visa photos, and failure to follow them can lead to rejection. | Research and follow the exact guidelines for the country you’re applying to, including photo size, background, and more. | Always verify the requirements on the official embassy or consulate website to avoid missing any details. | Ensures your photo meets the unique standards set by each country. |
Top Tips for Perfecting Your Visa Photo
Getting your visa photo right is an essential step in the application process. To ensure your photo is accepted without any issues, it’s important to follow the specific guidelines provided by the relevant authorities. Below are some key tips to perfect your visa photo and avoid common mistakes.
- Ensure Correct Photo Size
The size of your visa photo is one of the most crucial aspects. Most countries have strict requirements about the dimensions, such as 2×2 inches (51×51 mm) for U.S. visas. Make sure to measure the photo accurately and adjust it if necessary. - Use a High-Resolution Camera
Low-resolution photos will likely be rejected. Use a high-quality camera or a professional service to capture the image. If you’re using a smartphone, ensure the settings are at the highest resolution possible. - Choose a Neutral Expression
For most visa photos, a neutral expression is required. Avoid smiling, frowning, or showing any exaggerated facial expression. Keep your mouth closed and eyes open while looking directly at the camera. - Use a Plain, Light-Colored Background
The background should be simple and light, such as white or off-white. Avoid any patterns, objects, or shadows that could distract from your face. A clean background ensures clarity and focus on your facial features. - Check the Lighting
Proper lighting is essential. Your face should be evenly lit with no shadows or reflections. Natural light is best, so try to take the photo in a well-lit room or outdoors during the day, but avoid harsh sunlight. - Center Your Head and Eyes
Your face should be centered in the frame, and your eyes should be positioned about one-third of the way down from the top of the photo. This ensures the photo meets the required framing and alignment specifications.